
Understanding the Phases of Your Build
Building your own home is a big project—but that doesn’t mean every part of it has to happen at once.
Many members of the Arched Cabins LLC community are what we affectionately call “weekend warriors.” They work a normal job, run a small business, take care of a family, or juggle all three during the week, then spend their weekends working toward the goal of building their own home.
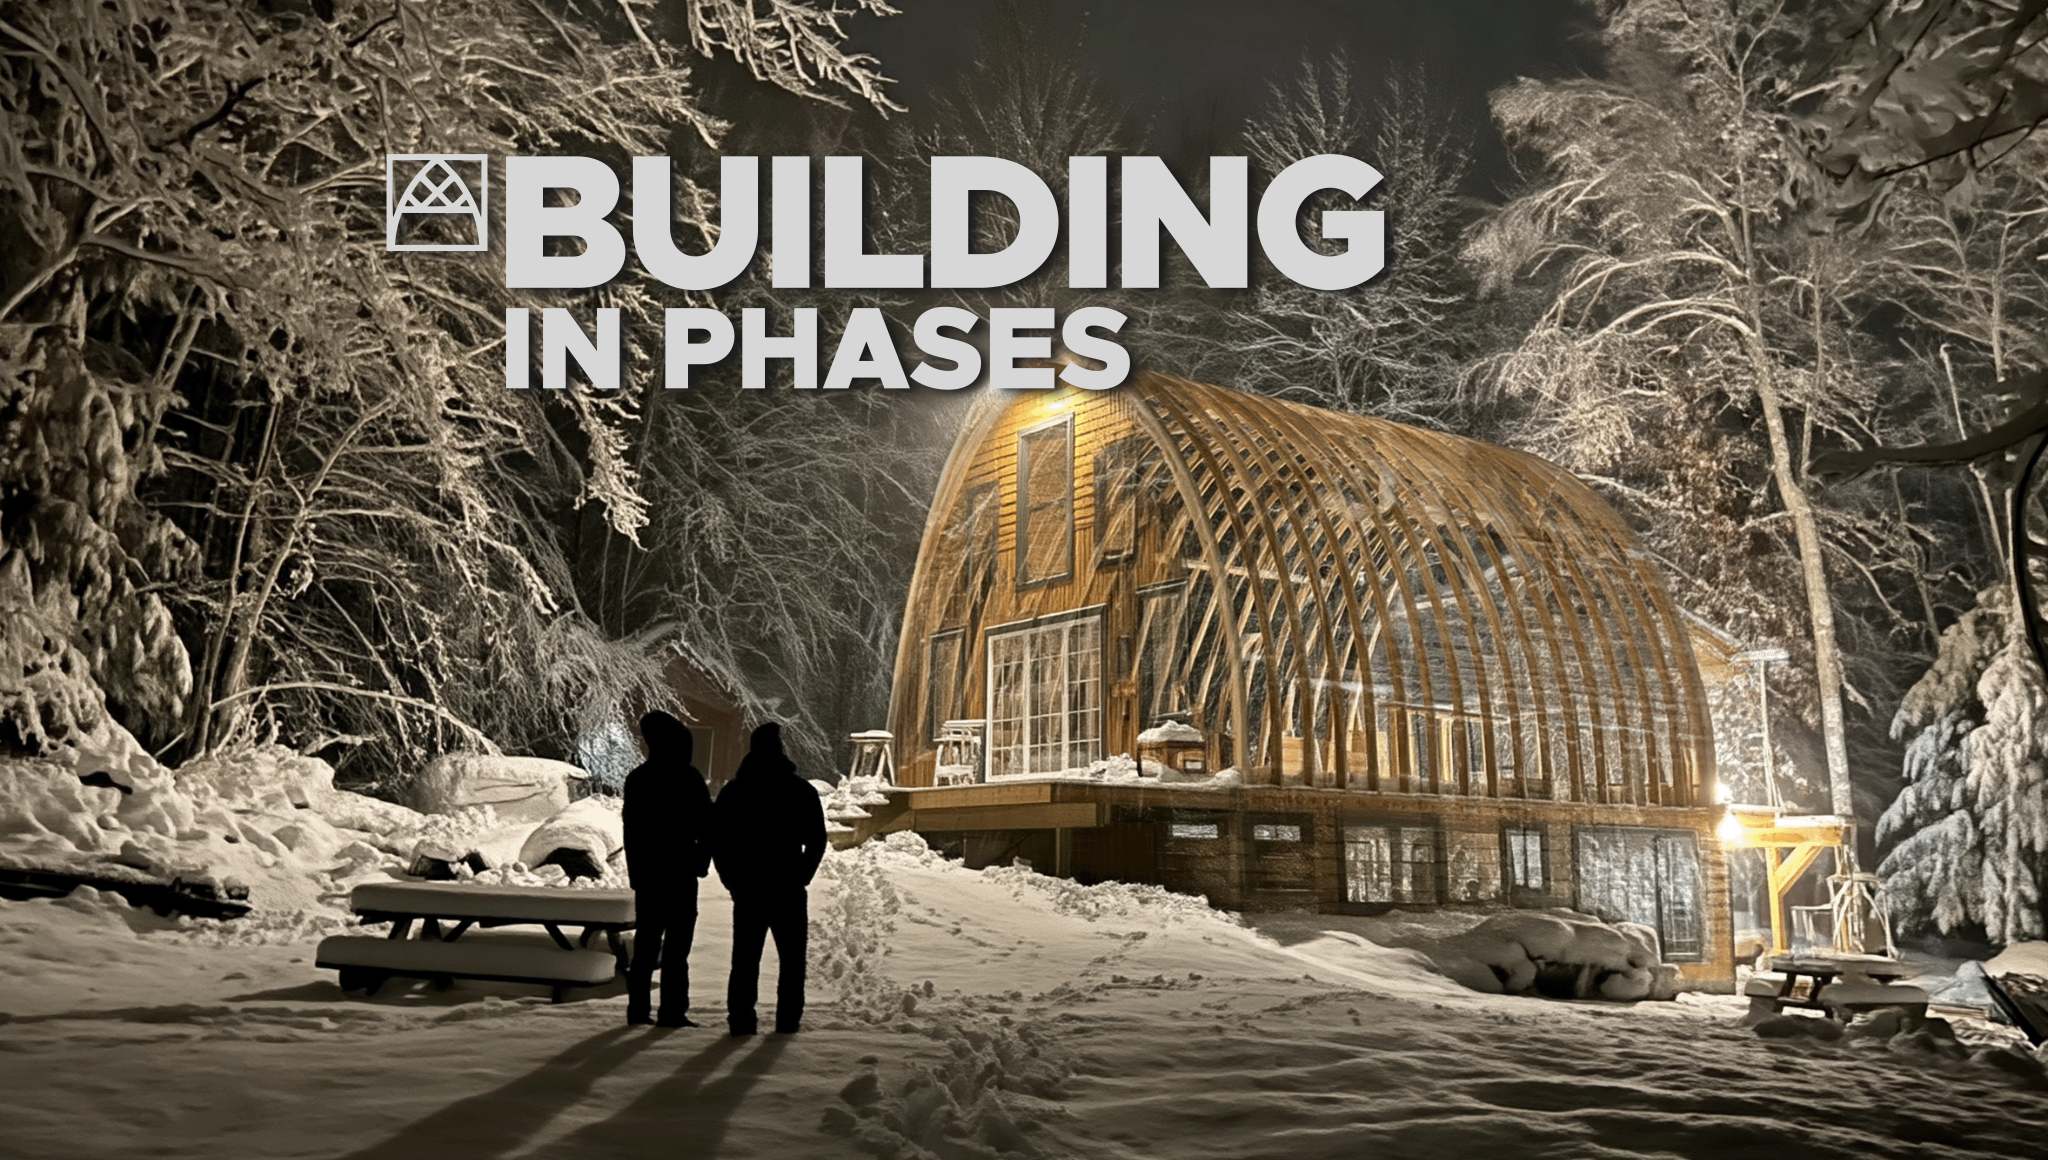
We know this firsthand. It’s the way Jeremy and Gillian (CEO and Executive Manager of Arched Cabins LLC) built their recently finished 24XL x 40 in Magnolia, TX. Many Arched Cabin builds happen one weekend, one project, and one phase at a time. That makes planning especially important.
Instead of looking at your build as one enormous project, it can be much easier to break it into manageable phases. Understanding those phases before you begin can help you plan your budget, order materials at the right time, coordinate contractors or helpers, schedule inspections, and decide what work you can realistically tackle yourself.
This article is the first in a series where we’ll walk through the major phases of an Arched Cabin build. Think of this one as your roadmap. In the articles that follow, we’ll take a closer look at individual phases and share things to consider as you plan your own build.
Your Arched Cabin Build at a Glance
Think of your build as nine major phases. Some may overlap depending on your property, contractors, inspections, and schedule, but this gives you a roadmap from raw land to a finished home.
- Land & Permitting — Find your property, research restrictions, develop your plans, and obtain required
permits. - Site Prep & Utilities — Clear and prepare the build site and plan or install water, septic, power, and
other utilities. - Foundation — Complete the foundation designed for your site and Arched Cabin.
- Arched Cabin Assembly & End Caps — Assemble the kit, install the metal roof, frame the end caps, and
install exterior windows, doors, and siding. - Interior Framing — Frame bedrooms, bathrooms, closets, lofts, and other interior spaces.
- Plumbing & Electrical — Complete rough-in plumbing, electrical, and required inspections.
- Interior Walls & Ceilings — Install drywall, tongue-and-groove, paneling, or other interior finishes.
- Flooring & Tile — Complete flooring, showers, backsplashes, and other tiled surfaces.
- Fixtures & Appliances — Install lighting, plumbing fixtures, cabinetry, appliances, hardware, and
finishing touches.
Phase 1: Finding Land & Permitting
Before you start thinking about foundations, framing, or finishes, you need somewhere to build—and you need to understand what you’re allowed to build there.
Finding the right property involves much more than finding land you love. You’ll want to investigate zoning, deed restrictions, access, utilities, septic requirements, setbacks, floodplain considerations, and your local permitting requirements before committing to a property or finalizing your building plans.
We’ve covered both land selection and permitting in two previous blogs, so rather than reinventing the wheel here, we recommend starting with those resources:
CLICK HERE for the full length LAND ACQUISITION BLOG
CLICK HERE for the full length PERMITTING BLOG
Remember that an Arched Cabin is a permanent structure. When speaking with a permitting office, we recommend describing your project as a home with structural steel components and a metal roof rather than simply asking whether they allow a particular type of “kit home.”
Your local building authority ultimately determines what documentation, engineering, inspections, and permits your project will require.
Phase 2: Land, Build-Site Preparation & Utilities
Once you have your property and understand the permitting requirements, it’s time to prepare the site.
Depending on the property, this phase could include clearing trees or brush, establishing a driveway or construction entrance, grading, drainage work, preparing the actual building pad, and creating access for trucks, equipment, and future deliveries.
This is also the time to think seriously about utilities.
Where will your power come from? Will you have a well or municipal water? Will you need septic? Where will those systems be located in relation to the home? Do trenches, conduit, plumbing sleeves, or other underground components need to be installed before the foundation is completed?
Thinking several phases ahead here can save you from having to undo completed work later.
Phase 3: Building the Foundation
With the site prepared, the foundation gives your Arched Cabin its literal starting point.
The type of foundation you choose will depend on your plans, property, local requirements, engineering, soil conditions, and personal goals for the home.
This is also an important point in the project for weekend warriors to think about scheduling. Certain portions of foundation work may involve inspections, concrete deliveries, equipment rentals, contractors, or work that needs to happen within a particular timeframe.
Good planning becomes extremely valuable as you move from this phase into the actual Arched Cabin assembly.
Phase 4: Assemble the Arched Cabin & Complete the End Caps
Now the shape you have been imagining finally starts looking like an Arched Cabin!
During this phase, you’ll assemble the structural components of your Arched Cabin kit and install the metal roofing system. You’ll also frame the front and rear end caps, including the rough openings for your windows and doors, then complete the exterior end-cap finishes and siding.
For many owners, reaching a dried-in structure is one of the biggest milestones of the entire project.
Once the exterior shell is protecting the interior from the elements, you have much more flexibility to tackle the remaining work in stages.
Phase 5: Interior Framing
Next comes the interior layout.
Interior framing turns the open shell into the rooms you designed on paper: bedrooms, bathrooms, closets, utility spaces, kitchens, loft areas, hallways, and other living spaces.
Planning ahead becomes important again because your framing needs to work with everything that follows—particularly plumbing, electrical, fixtures, cabinetry, appliances, and interior finishes.
Before closing any walls, make sure you have thought through how the systems inside those walls will work.
Phase 6: Plumbing & Electrical
Once the interior framing is established, plumbing and electrical rough-ins can begin.
This is where your home starts gaining the systems that will make it functional.
Depending on your location and permitting requirements, portions of this work may need to be performed or signed off on by licensed professionals. Inspections may also be required before walls can be closed.
Even if you plan to hire professionals for this phase, scheduling matters. For a weekend-warrior build, coordinating contractors and inspections with your own progress can prevent the project from sitting idle while you wait for the next trade to become available.
Phase 7: Interior Wall & Ceiling Finishes
Once your rough plumbing and electrical work is complete and any required inspections have been passed, you can begin closing everything in.
This is where personal style really starts showing.
Drywall is one option, but it certainly isn’t the only one. Tongue-and-groove wood, paneling, wood accents, and combinations of different materials can completely change the character of an Arched Cabin.
Your choice can also affect your budget, installation time, required skill level, and how much work you can comfortably complete yourself.
For weekend warriors, this may be another phase that is easily divided room by room rather than trying to finish the entire interior at once.
Phase 8: Flooring & Tile
Next come many of the finished surfaces you’ll see and use every day.
Depending on your design, this could include hardwood, engineered flooring, laminate, luxury vinyl plank, polished concrete, carpet, bathroom tile, shower surrounds, backsplashes, or other materials.
Sequencing matters here too. Think about cabinetry, plumbing fixtures, appliances, trim, and other installations that still need to happen so you’re not creating extra work—or risking damage to a newly finished surface.
Phase 9: Fixtures & Appliances
Now comes one of the most rewarding stages: turning your construction project into a functioning home.
Lighting fixtures, plumbing fixtures, toilets, sinks, faucets, cabinetry, appliances, switches, outlets, hardware, and other finishing pieces begin bringing everything together.
There may still be trim, touch-ups, inspections, exterior projects, landscaping, or a long list of little details left to complete, but this is the stage where all those weekends of work really begin to feel worth it.
Build in Phases. Plan Several Phases Ahead.
One of the biggest lessons we can share with anyone planning a DIY or partially DIY Arched Cabin build is this:
You don’t necessarily have to complete your build quickly, but you do need to understand the order of operations.
A weekend-warrior build might take months—or much longer—and that’s okay. Your schedule should reflect your life, budget, skills, available help, weather, inspections, and goals.
What matters is knowing what your next phase requires before you get there.
If you’re building primarily on weekends, look ahead. What materials need to be ordered? Does an inspection need to be scheduled? Will you need three extra sets of hands? Does equipment need to be rented? Is a contractor needed before you can move forward? Does something need several days to cure before the next step begins?
Planning those details ahead of time can make your precious building weekends much more productive.
Coming Up in This Series
This article is only the roadmap.
Throughout this series, we’ll dig deeper into the individual phases of an Arched Cabin build and talk about planning, sequencing, materials, contractors, inspections, DIY considerations, and some of the lessons that can make the process easier.
Whether you’re planning to do nearly everything yourself, hire out certain trades, or simply want to understand the process before getting started, our goal is to help you look at the entire build and say:
“I know what comes next.”
You don’t have to build your home in a day.
You can build it one phase—and one weekend—at a time.
Build your lifestyle.